GetResponse Landing Page Tutorial 2021 | A Step by Step Guide
Step 1: How to Create a Landing Page Using GetResponse? (Tutorial)
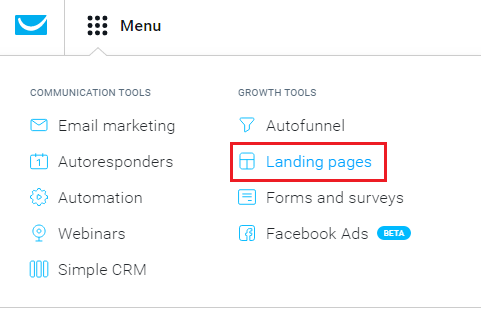
- The first step to creating your GetResponse landing page is to go to Menu and click on Landing pages:
 |
2. After that, you will be taken to a page that will have a section for your (eventual) landing pages. Go ahead and click the “Create landing page” button:

3. On the next page, you will see a series of templates that you can choose from. You have the option to browse for a template that fits with the theme of what you’d like your landing page to look like. To keep it simple and easy to follow, the guide here will have us build a landing page from scratch:
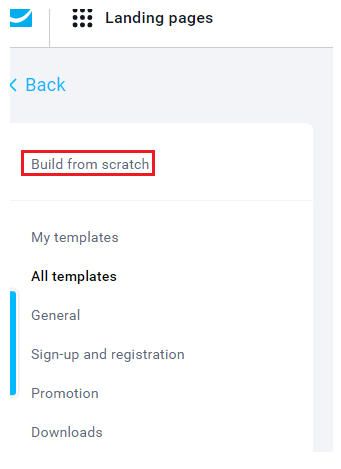
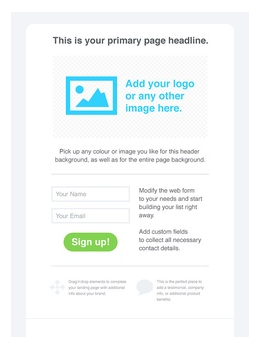
4. Go ahead and choose a “Build from scratch” template. I’ve chosen the one below:
5. After you’ve selected your template, you will want to give your landing page a name (for your reference). After you’ve picked a next, just click Next step:
STEP 2: How to Use the GetResponse Landing Page Creator
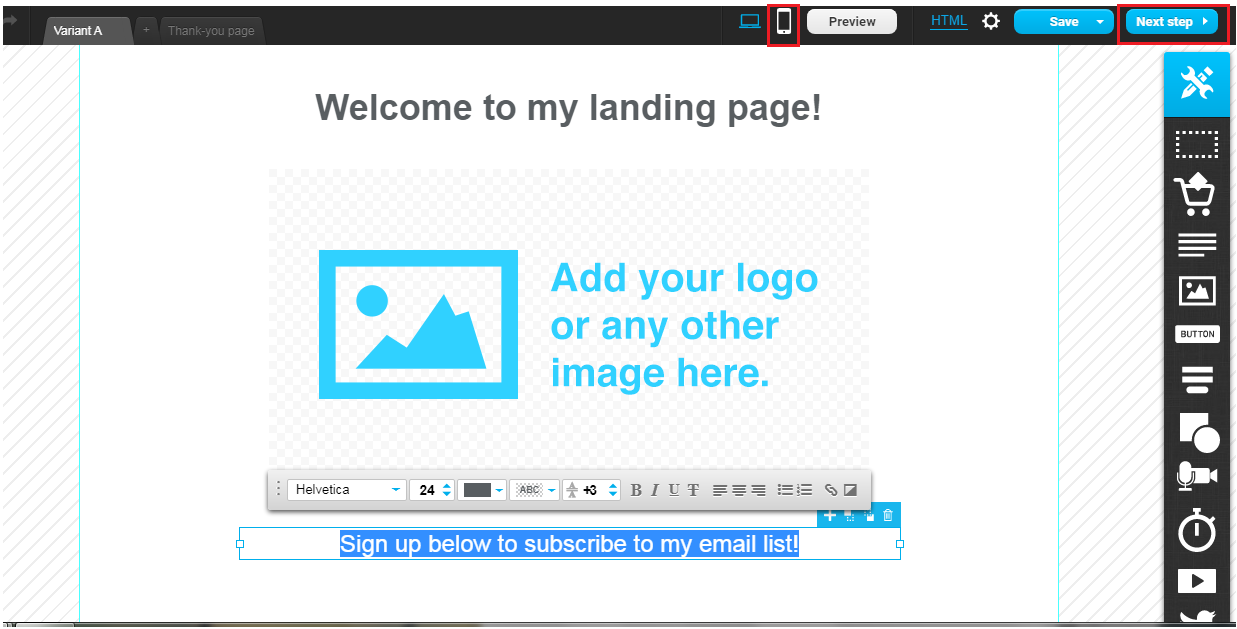
You’ve now reached the GetResponse landing page creator! From here, you can edit the images, text information, colors, and fonts. Just click into a box and you’ll see a pop-up for editing.
- After you’ve edited your landing page, you will want to click on the mobile icon (highlighted below) to preview the mobile version of your landing page. You will want to go ahead and edit that to make sure it looks good before proceeding. After you’re done, click on the Next Step button to proceed:
2. In the My landing page settings, you will add a title and description to start. The description is what will show up on Google search results if someone searches and finds your landing page through Google. Go ahead and give a description about what your landing page is about or what offer you can provide if someone signs up to your email list:
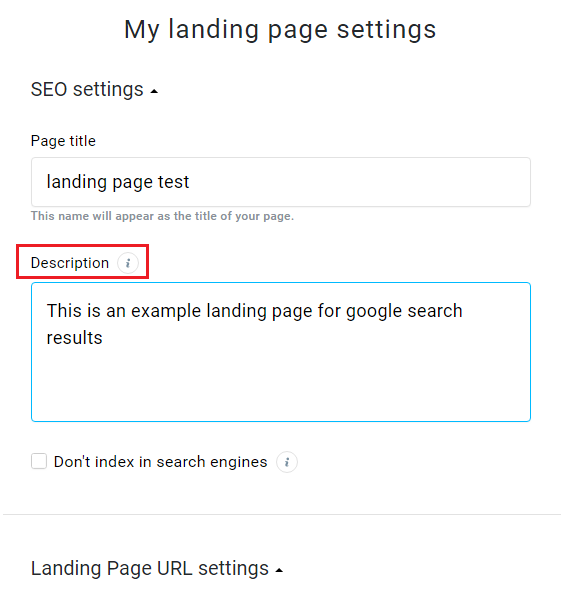
3. For the next step, you can leave the url as is (using GetResponse) for now.
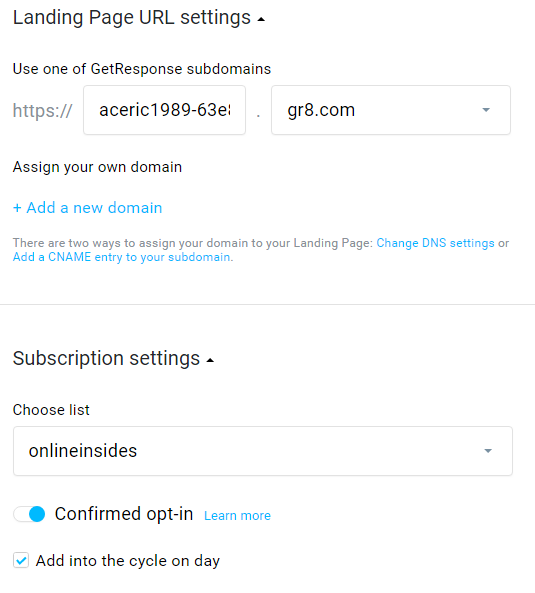
4. For the list, you will want to select which List will be used (people who opt-in through the landing page will go to this list and you can send future emails to the list that subscribers enlisted in). If you haven’t already, you can check out this link on how to build an email list using GetResponse:
For the confirmed opt-in, you can either select or de-select. It just means that subscribers will receive a notification asking to confirm whether they want to be a part of your email list. I personally would de-select that option to keep things simple:
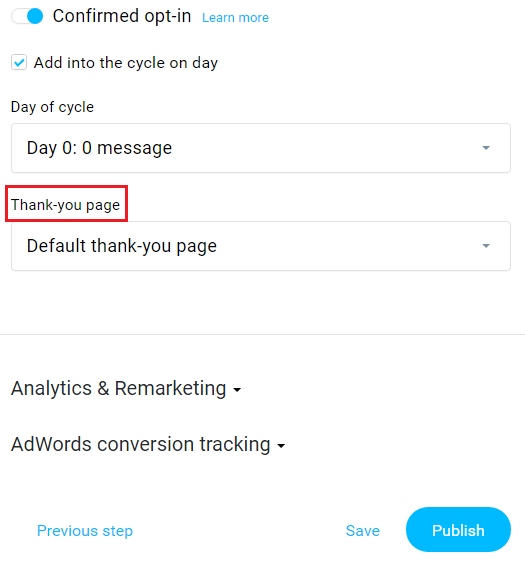
You can leave the “add into the cycle on day” as zero or as is. This indicates the timing that subscribers will get a notification from you.
5. For the “thank you page” settings, you can leave it as default or (what I recommend) you can set up a custom Thank you page (on your website or blog) that subscribers will get re-directed to.
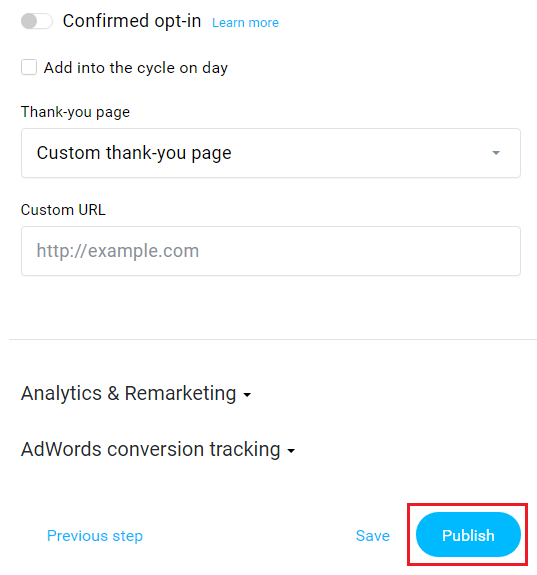
This way, you can customize your thank-you notice to them, as well as give them additional links, resources, or services that they might be interested in or benefit from. Just simply create a “Thank you page” on your website or blog, publish it (you can keep it hidden from the rest of your content), and copy and paste the address into the GetResponse thank you form.
6. Once you’re done, hit Publish! Congratulations, you’ve just created your GetResponse landing page:
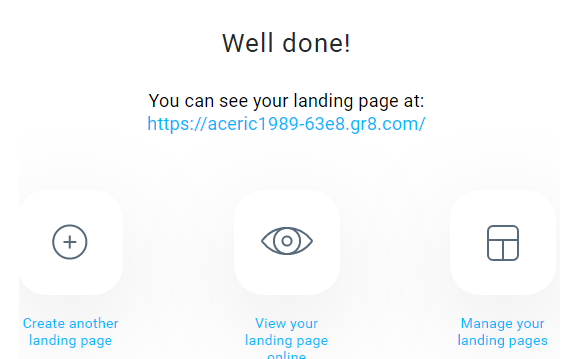
Just copy the URL now to preview how your landing page looks like.
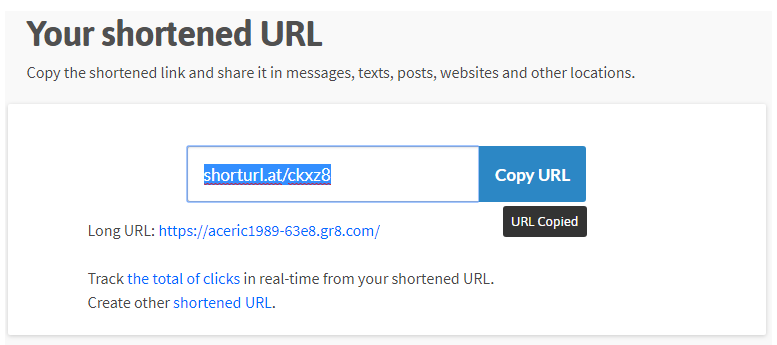
7. Afterward, you have the option to take the GetRepsonse URL and shorten it to make it look cleaner and shorter. This way, when others see your link, it’ll be more visually appealing to click on. Just find a link shortener. I used ShortURL.at and pasted the landing page URL into it:
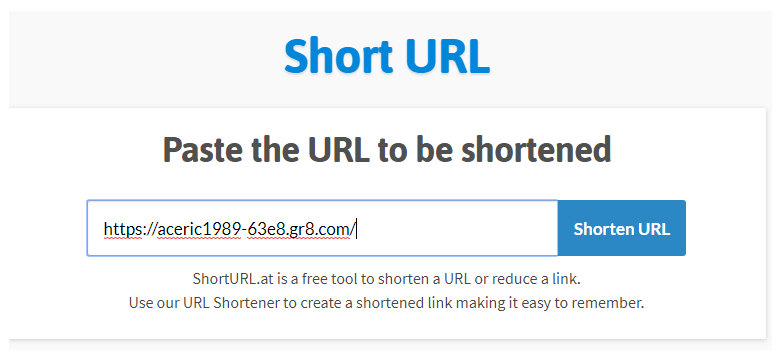
8. Now just copy that new URL and save that URL somewhere. You will want to keep it handy so that you can link out to it in the future when you want to promote your new landing page!
Related Articles


Comments
Post a Comment